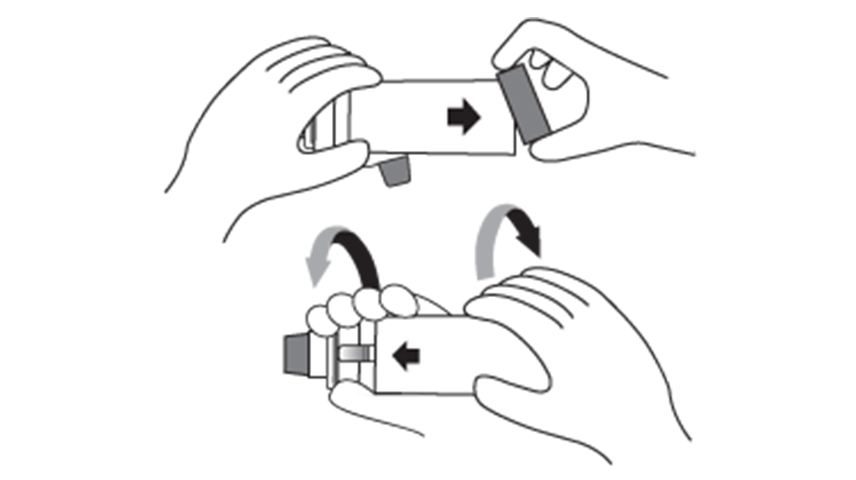
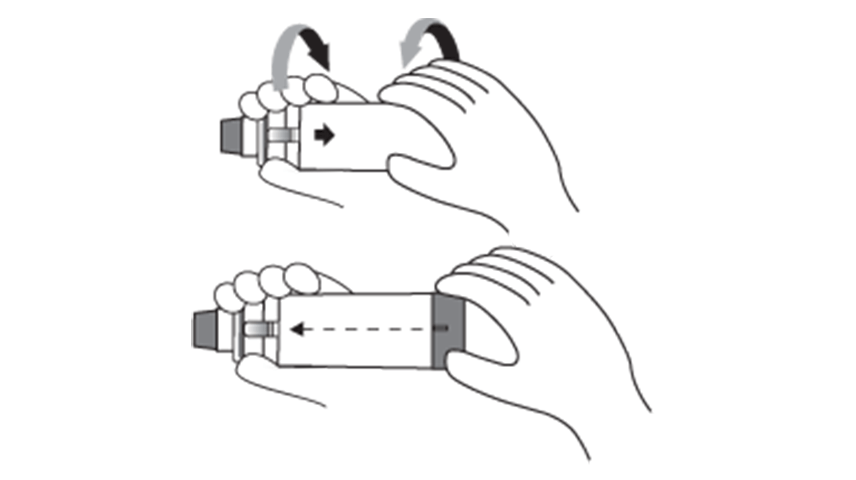
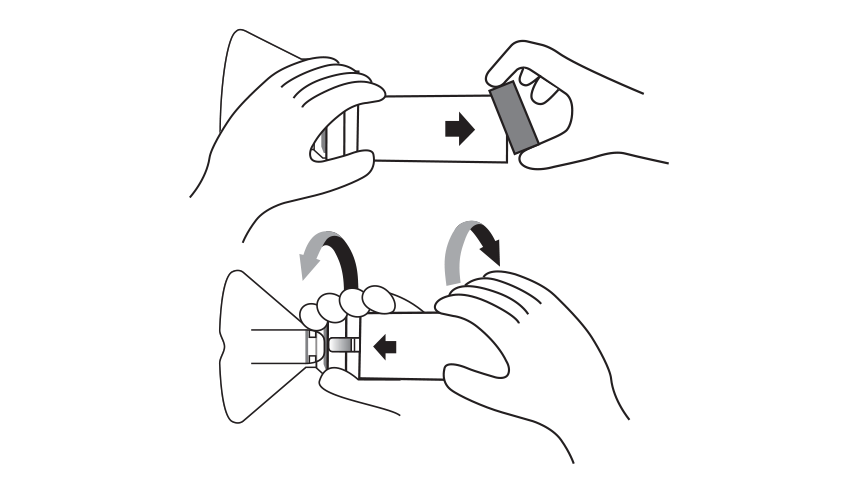
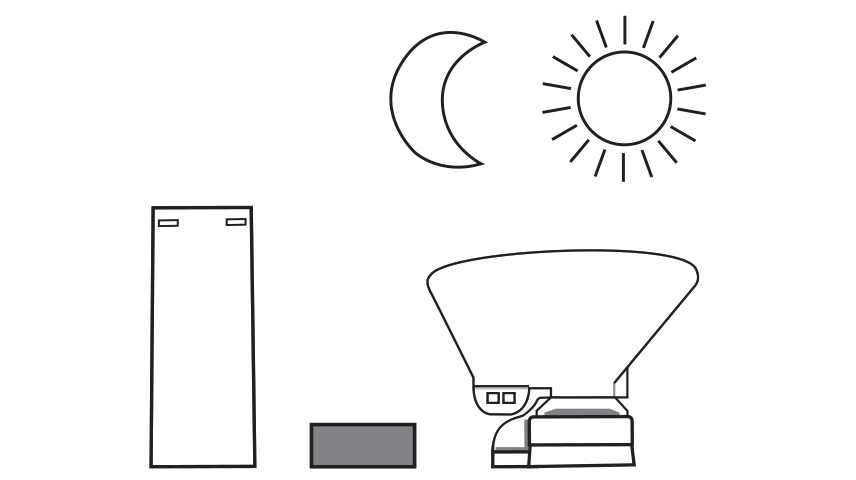
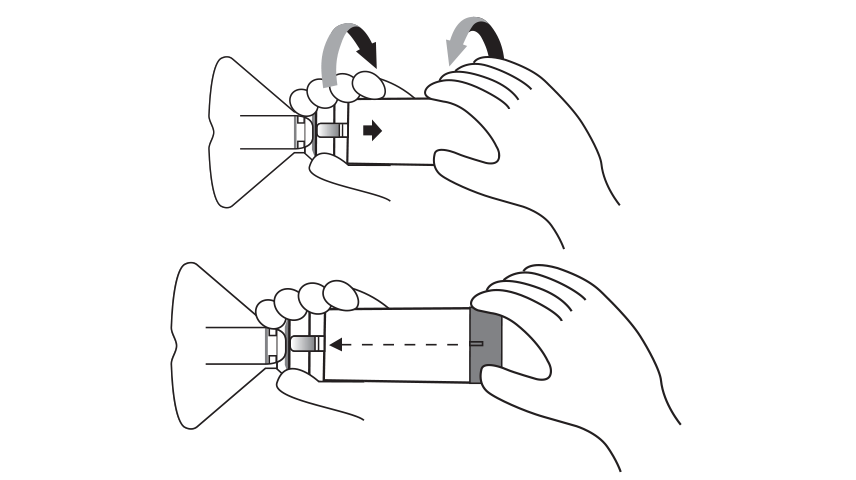
To reassemble, fit the frontpiece (B) on the end of the chamber and twist firmly until securely locked into position. Center the alignment feature (C) on the backpiece with the Flow-Vu* Inhalation Indicator (A), as shown. Press firmly to attach the backpiece (D).